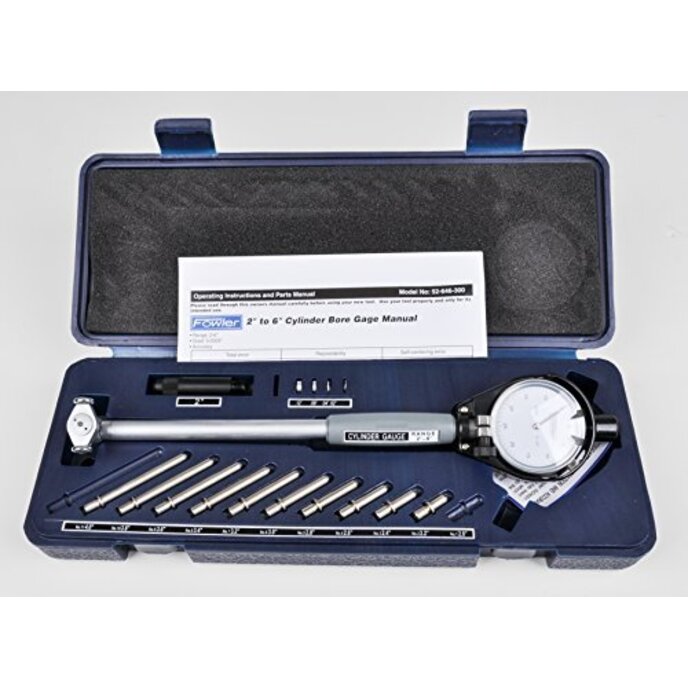
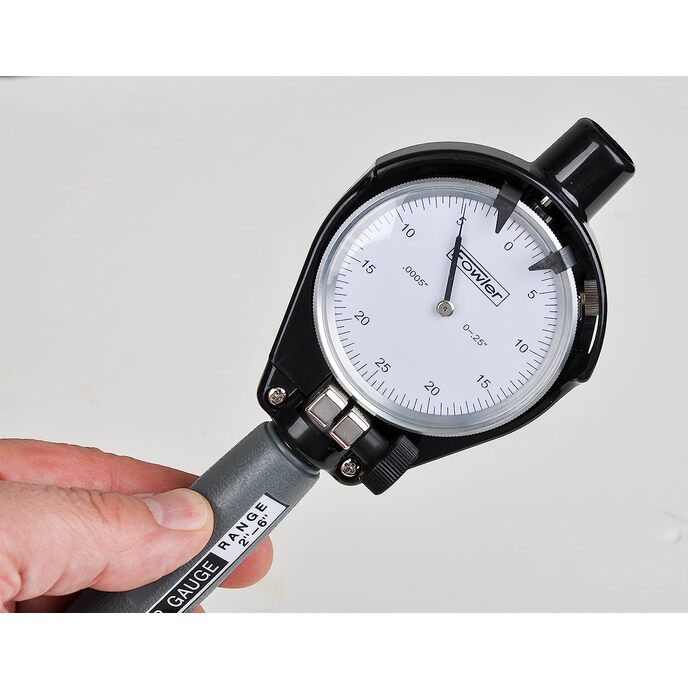
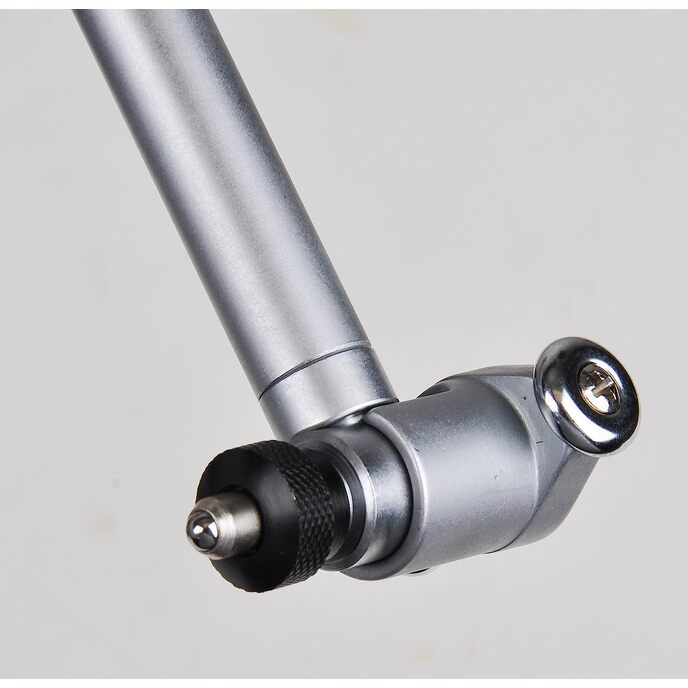
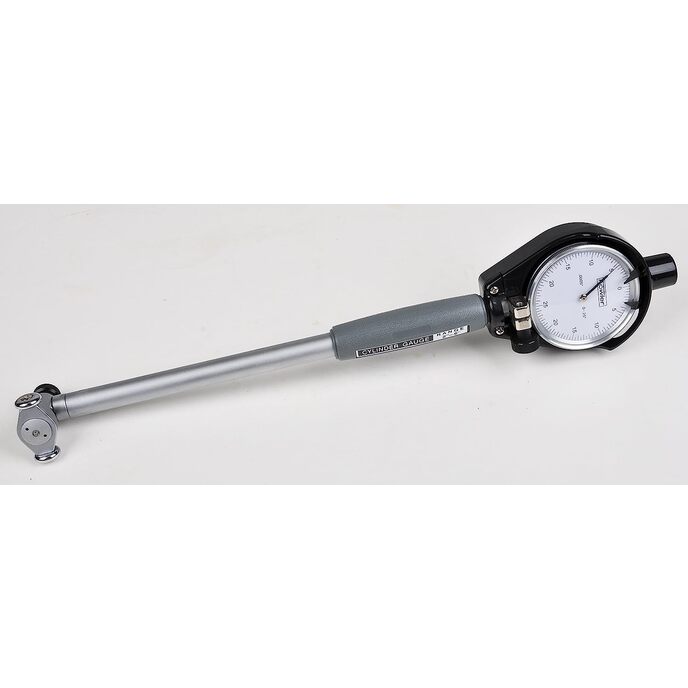
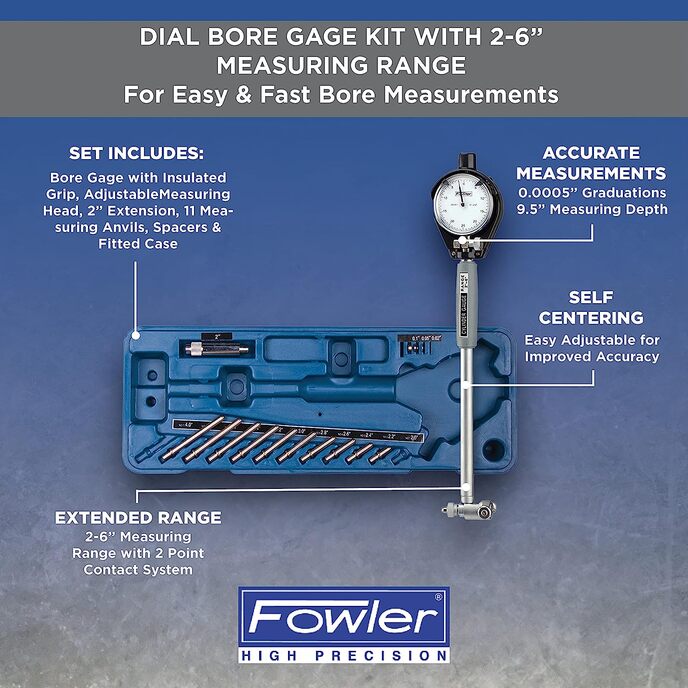
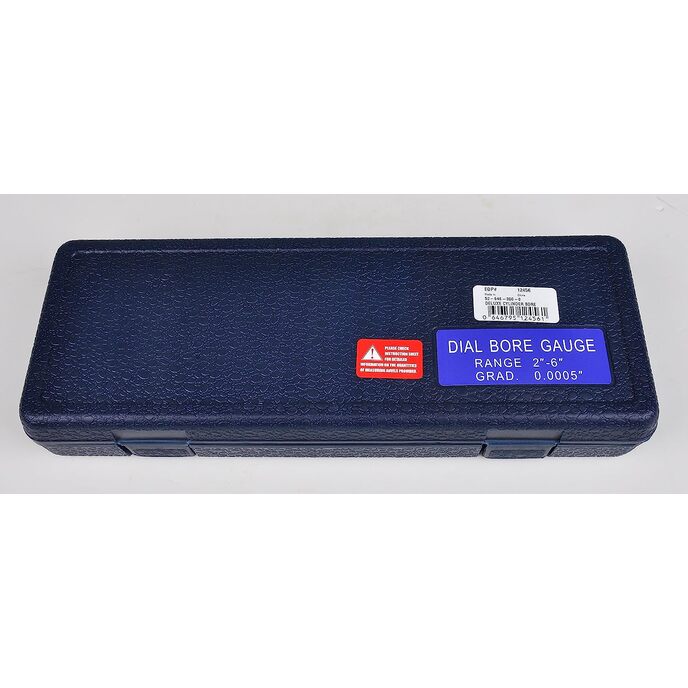
Since there is very little info on this tool out on the 'net, I thought I'd give some detail. I'm writing this review from the perspective of using the gauge for checking cylinder bores in an engine block. Bottom Line: Would I buy it again? ---Yes. Would I recommend it to a friend? ---Yes. Pros: ---Outstanding value ---Measurement capability is broad ---Great for assesing out-of-round and tapered cylinders ---Good sturdy case and solid overall feel Cons: ---Measurement increment without re-configuring tool is 0.2" ---Only performs measurements relative to an external standard ---Fit and finish fall short of a top-quality tool Initial quality: Good/sufficient. The case is sturdy, all the parts were there, and everything fits together as it should, and the mechanism works smoothly. I do get a bit of the feeling that it is made by a facility full of people who don't know/don't care what they are making. For instance, the "INCH DIAL BORE GAUGES 2"-6"" label on the handle, apart from the grammar being a bit odd ('inch dial bore gauge' would have been sufficient, since the measurement range is determined by the anvil choice), was not fully "burnished" or "stuck down". Not a big deal, but it shows lack of attention to detail. Also, the tail end of the anvils have a little nub at the center, where the manufacturer's lathe facing cutter was not set dead on center This should have been ground/lapped off or the machine set up properly. As it is, the "nubs" don't affect the performance of the tool at all, as the anvil tail end is not a reference surface, and just extends into a deep bore. The surface roughness of the anvils is also pretty course for being pieces of a measuring instrument. It appears to be an "as-turned" finish, and while good as such, it strikes me as being "just sufficient" and is congruous with the price point of the set. First, this tool gives relative measurements, meaning that the user calibrates the dial for the specific job, so in addition to this, you will need an appropriately sized micrometer, or perhaps you could get by with a caliper. you can also "set the zero" using a micrometer or caliper to transfer the diameter of the piston for which the cylinder is being sized. You have a maximum of about 0.2" of travel to work within. What you get: The set includes the case, head/stem/handle assembly, dial indicator, dial indicator protective hood, 11 anvils in 0.200 increments (more on that later), 2" anvil extension, 0.02", 0.05", and 0.100 inch anvil spacer washers (I didn't verify the thickness accuracy), instruction/information sheet, and silica gel packet =) Anvils: there are 11; one in shipped installed in the measuring head. Don't be mislead by the case. There are 12 slots, but only 11 anvils, even though the empty slot on mine appeared to be labeled "no 11 4.0"", the label was offset a little too far to the left. Slot 12 is empty, that's not a mistake. I peeled off the label and re-affixed it to line up a little better. Here are the anvil sizes: 2.0" 2.2" 2.4" 2.6" 2.8" 3.0" 3.2" 3.4" 3.6" 3.8" 4.0" . Add the 2.0" extension to any of those for the 4-6" range. Each anvil has a very hard shiny (tungsten carbide?)spherical tip affixed in the end. Measuring Head: This had a knurled threaded collar that holds one anvil, and on the other end a small tip that is somehow connected by a linkage to a plunger in the stem, the movement of which is read by the dial gauge. The moving measuring tip of the measuring head is kept centered on the cylinder diameter by a pair chrome 'donuts' (that don't turn)on a spring loaded carriage that surrounds the measuring head. Again, You have a maximum of about 0.2" of travel to work within. Dial gauge: 0-0.25" range, large face, 0.0005" graduations. Fowler brand. Chances are you could install some other gauge if you wanted, it appears pretty standard. The dial gauge protective hood is a nice accessory, but it can't be left on the tool in the storage case, as far as I can tell, and it's a bit of a pain to install and remove, as it is held on with two Philips-head screws. It almost, ALMOST can be installed without removing the screws, but not quite. Unless I wasn't trying it the right way. It is not addressed in the instruction sheet. Instruction sheet: Well, if you are rebuilding an engine, you can probably figure out the tool as well, without instructions. OR at least that's what the manufacturer must believe, because there is scant detail. For instance, no mention of the protective hood or how to install it, no mention of how, where, or when to use the spacer washers, no mention of how the internals work, if they can be disassembled or adjusted, no maintenance instructions. The steps for use are vague and use ambiguous terminology/mention parts and features that are not defined.