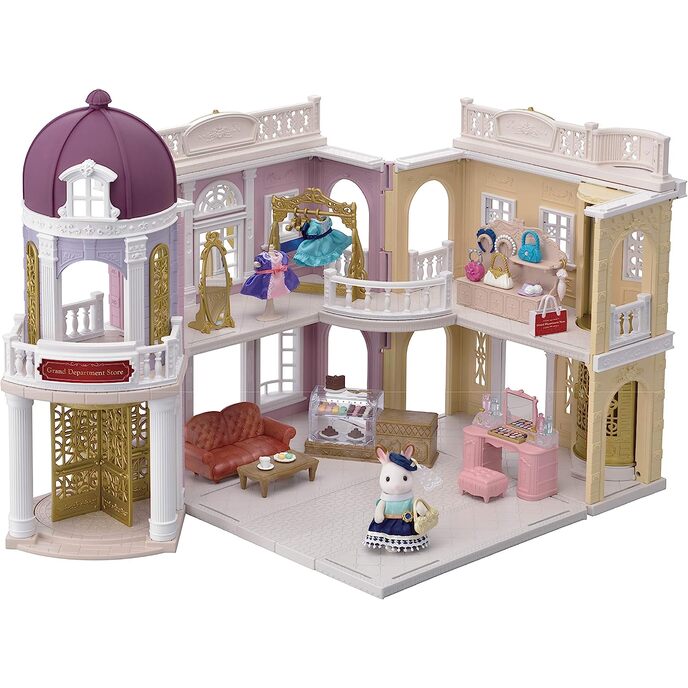
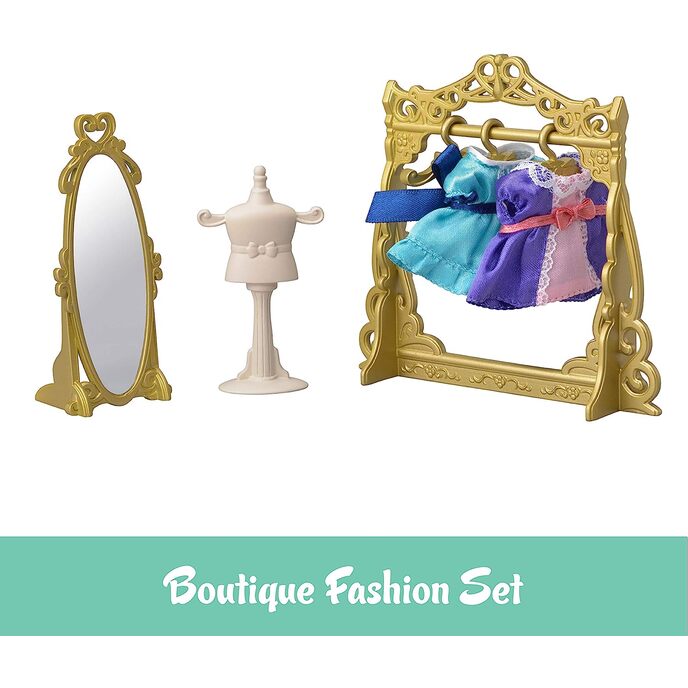
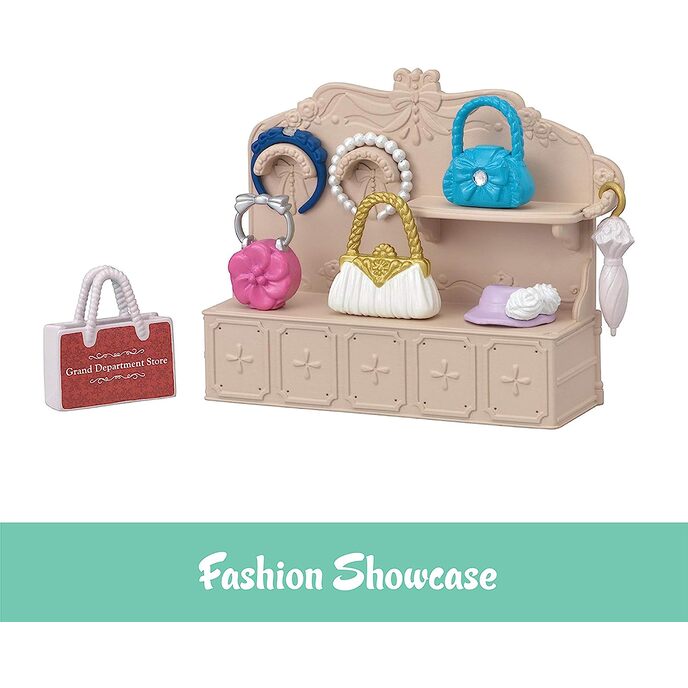
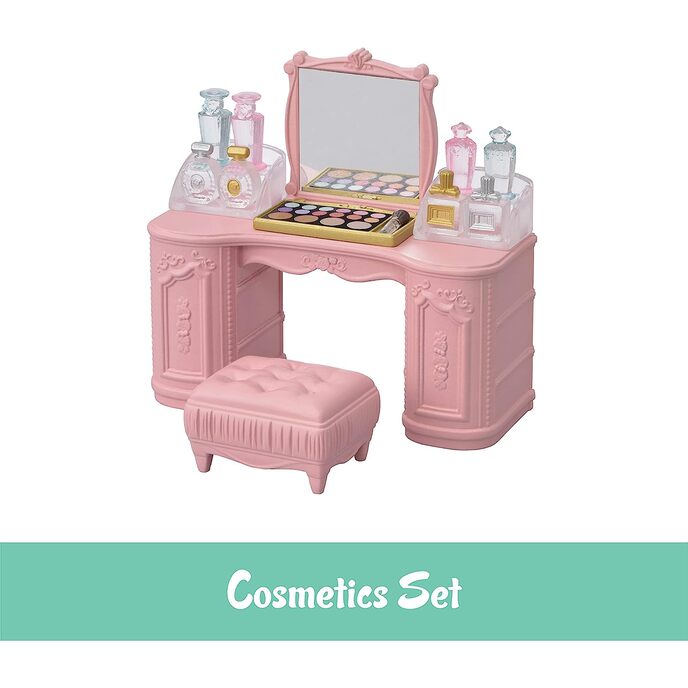
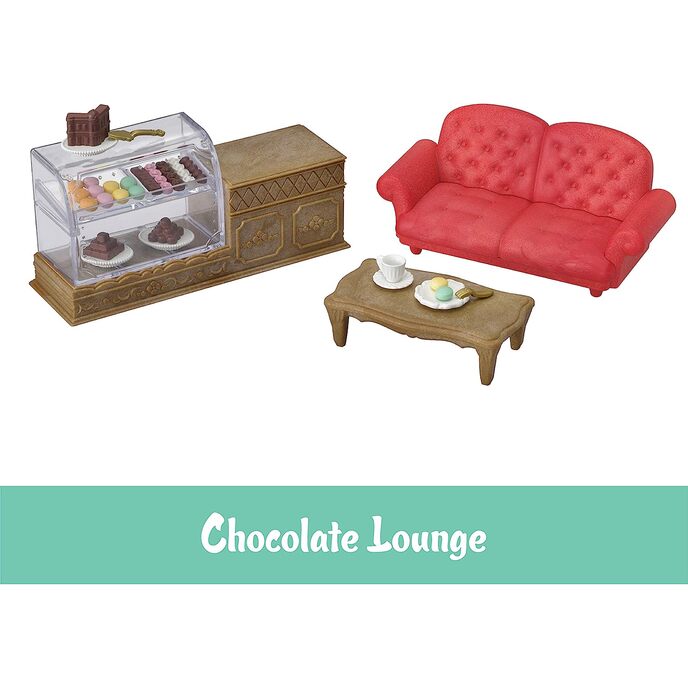
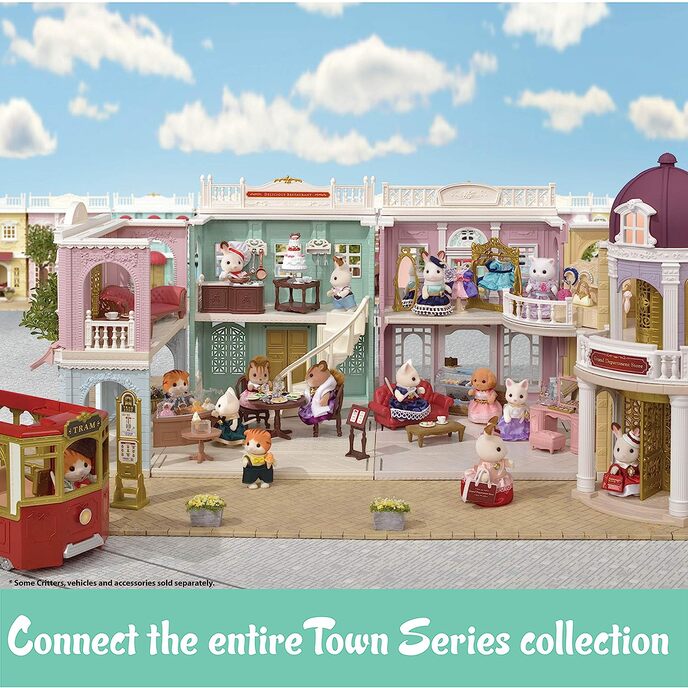
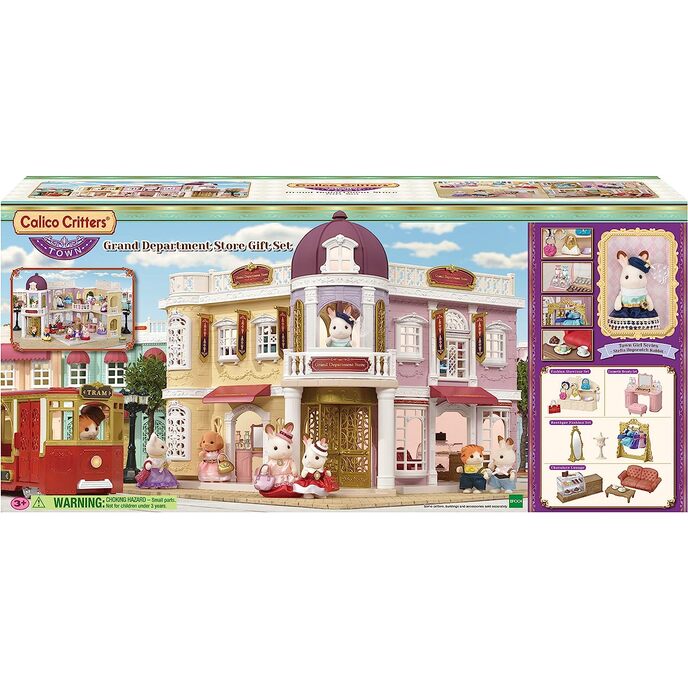
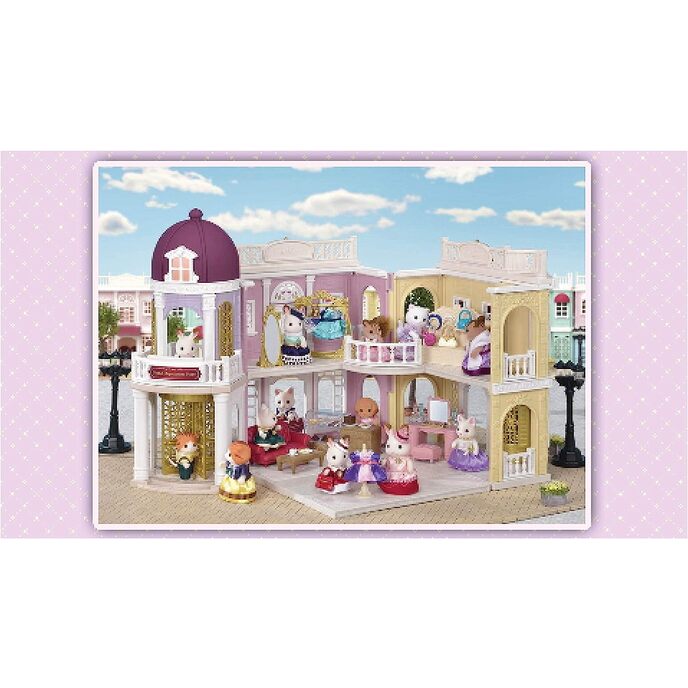
This is a toy of NOTE, wow! Even without all the extra accessory sets it would be a glory but with them added in the gift set version, it’s just such a value for money. It’s an heirloom piece that I will want to see passed on to future generations. . It’s amazing how far plastic technology has come over the years. The complex tiny details and ornamentations could only be done in plastic, say compared to a wooden dollhouse. Whoever designed this is a master of design. It has a luxe feel that is sophisticated and feels like an elegant Parisienne street scene. No wonder it appeals to so many adult collectors of both genders, as well as to kids. There is a working elevator and a working revolving door with ornate gold doors just as in old timey days. Both are manually operated so this toy is wonderfully battery free, unless you choose to buy interior lights sold separatelyCalico Critters Light & Curtain Play Set, Multicolor . This light fits into most of the Calico Critters buildings and there are light holders built into the ceilings already that will hold the light. This building has 5 light holders, one in the ceiling of each lower floor, one in two of the floor pieces that can be roof decks in order to light the upstairs, and one in the movable quarter balcony. Can I just say how exquisite the "ceiling" patterns are underneath those floor pieces just in case you use them as roof decks. The attention to detail! Everywhere you look there is something thoughtful and beautiful. The accessoryCalico Critters Town Light up Street Lamp , sold separately, is a must! In keeping with the Calico Critters tradition of giving you both a crafting experience and then a toy to enjoy, there is some stuff to assemble, including the stickering fans have come to expect. Thankfully they have factory applied two of the most difficult stickers (the department store signs) but left the one over the entrance for us, plus some others or it just wouldn’t be the same unboxing thrill of a new Calico Critters toy. Sticker tips: I recommend tweezers to get stickers on straight. To minimize the chance of the stickers peeling up with age, I usually lightly wipe plastic surfaces with rubbing alcohol to remove the plastic mold release coating residue that may still remain from the factory. Just be careful not to use too strong a proof of alcohol and don’t keep it in contact for too long on painted surfaces as it could dissolve/soften some types of paint. I wiped down all the banner signs which look as if the gold could be paint. Nothing bad happened and the stickers gripped much better. I would also pre-apply most of the stickers if giving this to a younger child, or a child who would be irritated with crooked stickers. The stickers are always a challenge to apply successfully and if you want it to look good or to resell later (these toys always hold/increase their value if in good condition) crooked stickers will be a liability. There is a separate manual to describe how to assemble/sticker, but it is pretty intuitive. Most assembly is done, it’s just a matter of a few railings and such. The store hanging banners hold on well, but lightly, and can be knocked off if bumped at the wrong angle. This is a common design feature for this toy line and I sometimes see reviewers complain about it. Welcome to the world of tiny miniatures! It’s actually a safely feature for the toy so that a dainty railing will rather fall off instead of snap and break. For those whom this bothers, superglue or gorilla glue etc. is your friend. Just be aware Superglue will crystallize with time so don’t ever use it on stickers. The department store has a flexi-design and can go in several layout configurations depending on your whims. The building is no deeper than 7” when set out in a straight line with none of the separate floor pieces laid out, so it will fit nicely along a bookcase, and make a gorgeous display or even tuck a nightlight in it. Yet when taken down to play it can be right angled and some of the movable floor pieces repositioned to make a much larger and deeper building, brilliant design! The floors inside the building are fixed though. Just those that make up the front pavement or the inner courtyard or the roof deck are movable pieces. There are also additional floor sets that can be purchased, so you can really amp up the store size. Sadly they have only been released in Japan so far, but you can find them on eBay under the name Sylvanian Families which is this toy line’s original name and the name it is still sold under in the rest of the world. The accessory sets are just darling, especially the chocolatier set. Tiny pieces: I use clear movable glue dots to attach the tiny pieces when not in play, so as not to lose any, and also box away some of them if not in active play. Some people use bluetack. There are not as many tiny accessories as usual, which I know will be a disappointment to the keen miniaturists, child and adult alike. Unfortunately there are enough parents giving poor reviews because “there are tiny pieces” because they see them as a liability of some sort, and they may have ruined it for everyone. This always bewilders me as this toy line is about a miniature world after all. I learned by trial and error that the elevator only slides up and down smoothly when the door is completely closed all the way, but that’s because I didn’t read the instructions first which explains this, so be sure to teach the kids so they don’t get frustrated. If you would like to see this set up in a gorgeous diorama, well known Sylvanian crafter Mimi (Ashmimi) has a beautiful display on her blog, which the manufacturer commissioned her to make for a toy fair, along with lots of well written tutorials to craft some of the things she made for the diorama, such as flower window boxes, fountains and tram tracks. I think they're archived in the June 2017 section onwards through the summer of 2017. Some the crafts are fun for kids and my daughter and I have tried quite a few of them with lovely results. All in all, very highly recommend.