Kohler 1044458 Комплект промивни вентили Незавършен

Brand:Kohler

3.6/5

lv
145.83

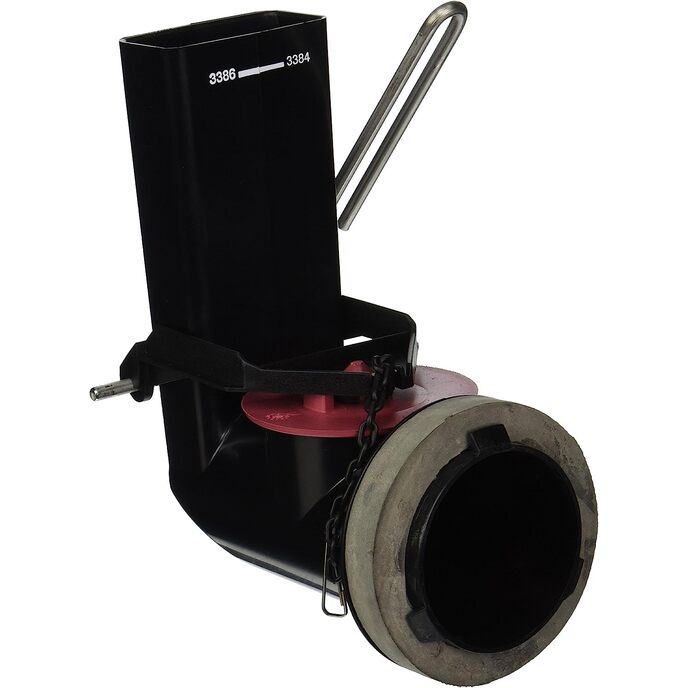
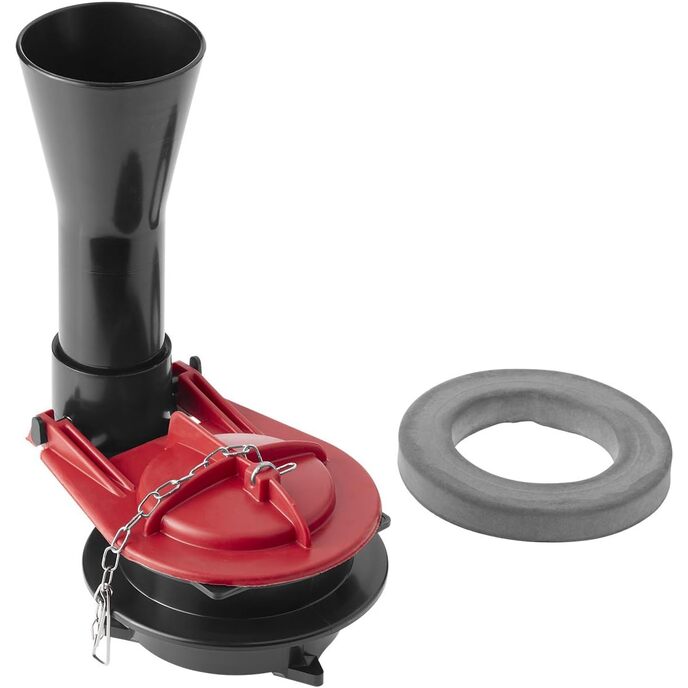
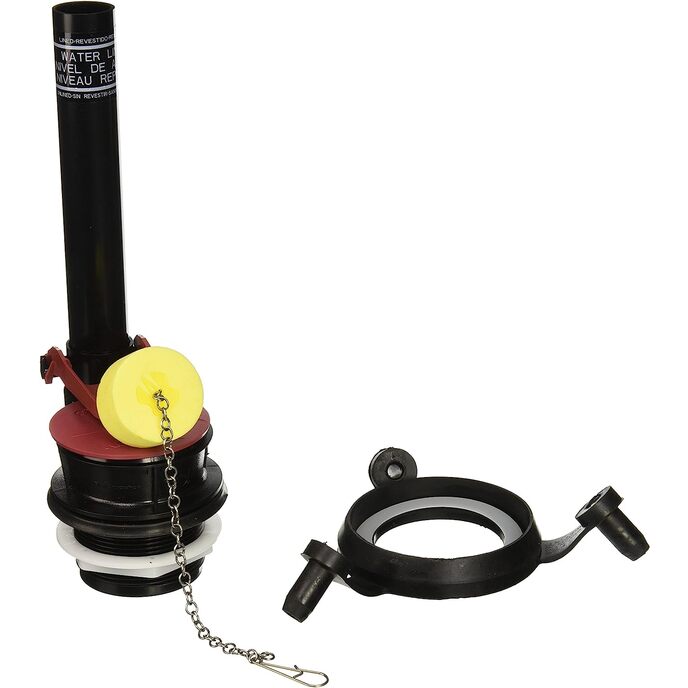
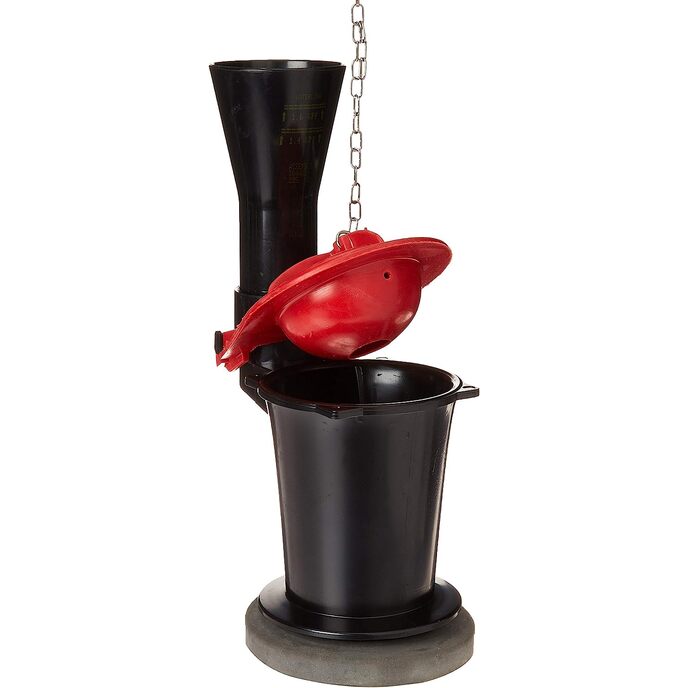
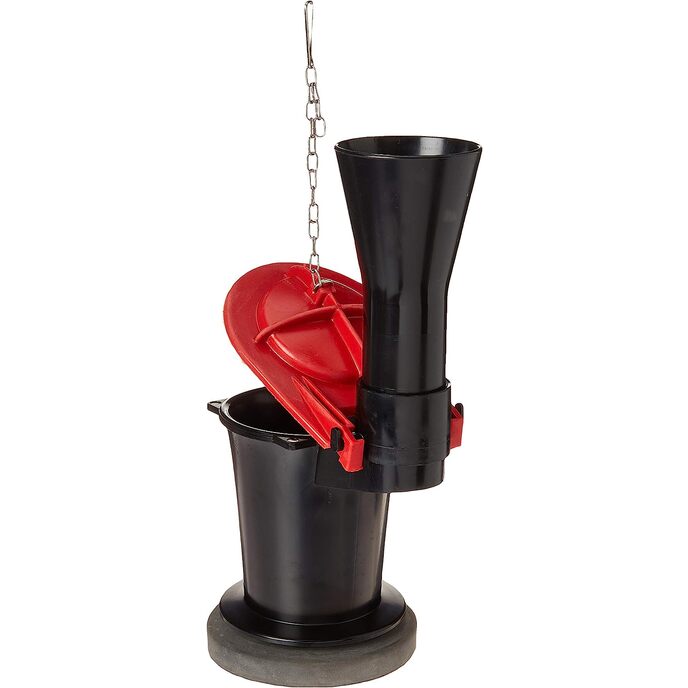
ОПИСАНИЕ НА ПРОДУКТА винаги търсете логото на оригинални части KOHLER. Оригиналните части на KOHLER са проектирани от инженерите на KOHLER, за да поддържат оригиналната производителност на продукта и да насърчават дълготрайността на продукта. ОТ ПРОИЗВОДИТЕЛЯ Kohler резервна част; 1044458. Номер на част 1044458 е комплект вентил за промиване. Комплект промивни клапани Без покритие Резервни части на Kohler.

Изработен от първокласни материали за повишена издръжливост. Проектиран да насърчава дълготрайността на продукта. Резервен комплект промивен клапан.
Batteries Included? ‎No
Batteries Required? ‎No
Brand Kohler
Certification not_applicable
Certification ‎not_applicable
Color ‎Unfinished
Customer Reviews 4.6 4.6 out of 5 stars 368 ratings 4.6 out of 5 stars
Included Components ‎Flush Valve Kit
Is Discontinued By Manufacturer ‎No
Item Dimensions LxWxH 5.9 x 14.5 x 6.2 inches
Item model number ‎1044458
Item Package Quantity ‎1
Item Weight ‎3.2 ounces
Manufacturer ‎Kohler
Part Number ‎1044458
Product Dimensions ‎5.9 x 14.5 x 6.2 inches
Style ‎Yes

3.6

12 Review
5 Star
79
4 Star
11
3 Star
4
2 Star
2
1 Star
3

Напишете вашето мнение

Вашият имейл няма да бъде публикуван. Всички задължителни полета са маркирани с*

Scritto da: Amazon Customer
Works perfectly.
Great and exact replacement product. Someone with less strength will have difficulty doing the installation due to the amount of force required to push and twist the main body into place. This is one where you will need a guy to help.
Scritto da: Uwe Bligenthal
Kohler genuine
Could not get parts at wholesalers
Scritto da: Naresh
Flush Valve Kit received promptly
Installation was straight forward and it performs well. Hopefully will last.
Scritto da: Margareth
maravilloso
excelente
Scritto da: R. Savage
INSTALL TIPS! --- TOILET HACK FOR WHEN PART DOES NOT FIT!
Wow, I just spent over an hour installing this part. Minus one star for no instructions and minus one star for part not fitting correctly. See more details below. UNBOXING: New Kohler OEM part arrived and looks identical to original part. Perfect. REMOVAL: Removing the old part from the toilet bowl was fairly simple. Push down and rotate at base to "unlock", then pull entire assembly up and out of the bowl. There are three tabs located at the foot of the base and they fit into a triangular hold in the ceramic bowl bottom. Rotating the entire assembly moves the tabs into the corners of the triangular hole which releases tension ("unlocks") and allows you to then lift assembly out. NOTE: You can rotate the assembly in either direction there is no keying or sloping edges on the triangular hole that suggest or mandate a rotational direction. IDEAL INSTALLATION: Installation should be as simple as removal in the reverse order. All you should have to do is insert the new assembly with the tabs located in the corners of the triangular hole and then apply a downward pressure while rotating the assembly in either direction which moves the tabs into the middle of the sides within the triangular hole thus locking the assemble to the bowl and maintaining pressure on the seal at the bottom of the assembly. MY INSTALLATION: I struggled trying to apply sufficient downward force while rotating the assembly and simply could not get the assembly to turn no matter how hard I tried. I thought I was going to break the little plastic tabs on the bottom of the assembly because I was twisting so hard. I thought my problem was that I was not able to apply enough downward force against the seal allowing the tabs to slip below the ceramic hole lips. After just about giving up I tried removing the seal just to see if I could get the assembly to turn without requiring so much force and here is where I found the real problem. I was not able to insert the unit without the seal and rotate either. That's when I noticed that assembly is not perfectly cylindrical, its somewhat conical where its a smaller diameter at the very bottom and then ever so slightly tapers to a larger diameter as you move up the assembly where the seal is located. I could see clear scratches and scapes in the plastic where it had been rubbing against the sides of the ceramic triangular hole. TOILET HACK: So with nothing to lose, I went to my bench grinder and ground down the outer sidewalls of the plastic assembly where it inserts into the triangular hole and only in-between the plastic tabs just to provide enough clearance for the assembly to properly fit in the hole. I probably took off about one millimeter of plastic on each of the three sides of the plastic tube in between each plastic tab on the bottom. Now back at the toilet, I was now able (without the seal) to insert the assembly and rotate it properly. I removed it for the last time and placed the seal back around the base of the assembly and then re-inserted it with downward force and was able to rotate it to the locking position. It still took quite a bit of force to get it to the fully locked position but I was at least able to get it there. I don't believe that I damaged the part in any way that will prevent it from working and sealing properly. LESSON LEARNED AND PRO TIP: If it does not seem to fit at first and you can't rotate the assembly, try removing the seal and install it without the seal just to see if the unit can even fit. If not -- grinder or dremmel the plastic so that it can fit.
Scritto da: Island Dave
INSTALLED NEW FLUSH VALVE ASSY TONIGHT
Installed one of these tonight. Have to agree with the Olive Oil part in the other reviewers comments. First I tried to install without it and could not get it to turn. Then used a couple of squirts of PAM Olive Oil on the bottom of the tank and on the top of the gasket --- much easier and got it locked into place. I have to also comment that you really need to push down hard to get the tabs under the lip to rotate it -- harder than you might think (I'm repeating this even though it have already been commented on -- you need to PUSH DOWN HARD). I also found the same issue reported by another reviewer. Toilet was installed new in about 2007 -- recently I started having the toilet run to fill for about 10 seconds every 15 or 20 minutes minutes or so... 1st I just ordered a new gasket thinking it needed to be replaced-- but, when I removed the old Flush Valve to inspect and replace the gasket I found 2 of the 3 locking tabs were cracked and bent back (no way it could be locked into place with a new gasket). New Flash Valve assembly is installed solid -- no leaks as of about an hour ago so I think all is good. For info -- you don't really need to get it to rotate very far at all -- maybe 15 or 20 degrees -- that's plenty to get the tabs locked under the lip of the bottom of the tank. For the value rating -- much cheaper than calling a plumber.
Scritto da: TekLord
Anyone can replace the flush valve by following these simple steps.
We built our home in 2008. It has 9 Kohler Cimmeron toilets. Over the past few months, this component has failed in 3 of the toilets. There are 3 plastic flanges located on the bottom of this flush valve that are used to securely lock the flush valve to the opening in the bottom of the tank. (You insert the three flanges into the triangular opening in the bottom of the tank and then rotate clockwise about 15 degrees to "lock" the flush valve in place.) I believe that over time the flushing action (when you depress the plunge lever on the toilet) eventually leads to mechanical fatigue and one or more of the flanges that hold the flush valve to the tank crack or simply break off. When this happens the toilet will start to leak and you will hear the fill valve kick in to replenish the lost water every few minutes or so. The flush valve kit is very easy to install... == Remove the old flush valve == 1. Turn off the water supply to the toilet. 2. Flush the toilet to remove water from the tank. 3. Disconnect the chain from the flush lever. 4. Press straight down (firmly) on the flush valve and rotate counter-clockwise to disengage the flush valve from the tank. == Install the new flush valve == 1. Attach the seal gasket (doughnut) to the bottom of the flush valve. The seal should be installed completely onto the bottom of the flush valve and the 3 tabs on the bottom of the valve should be exposed. 2. Apply some olive oil or vegetable oil to a paper towel and rub this oil generously onto both the top and bottom of the gasket. This will greatly aid in the installation. 3. Carefully align the bottom of the flush valve with the triangular opening in the bottom of the tank so that the tabs are fully inserted into the opening. 4. Using both hands, press down FIRMLY (straight down) and rotate clockwise about 15-20 degrees. If you cannot rotate the valve then you are not pressing down hard enough. You must press down FIRMLY so that the gasket will compress enough so that the unit can rotate. 5. Re-attach the flush lever to the chain. 6. Turn on the water supply and verify that everything works properly.
Scritto da: Joana
Good
The foam is a little bit thicker to be engaed in. I need to cut a layer of it to install.
Scritto da: mr gareth j culbert
Replacement part excellent
This part worked wonders, easy to install and worked perfectly
Scritto da: Steven
Follow the advice of previous reviewers.
It takes a fail bit of downward pressure to compress the washer when turning to lock into place. So remove the red flapper to get more area to push on and olive oil worked to allow it to rotate as per previous reviews. Brute force could easily snap the plastic.
Scritto da: Amazon Customer
Works Perfectly
Easy to install and works well.
Scritto da: V. Tsao
Perfect
Easy to instal.

Свързани продукти

hot
TOTO TEU1LA12#CP, Chrome
4/5

lv 1600.86

TOTO TEU1LA12#CP, Chrome
4/5

lv 1600.86

Открийте нашата международна мрежа

Изпращаме до 28 държави, над 200 000 продукта. Бъдете в течение, абонирайте се за бюлетина.

Array